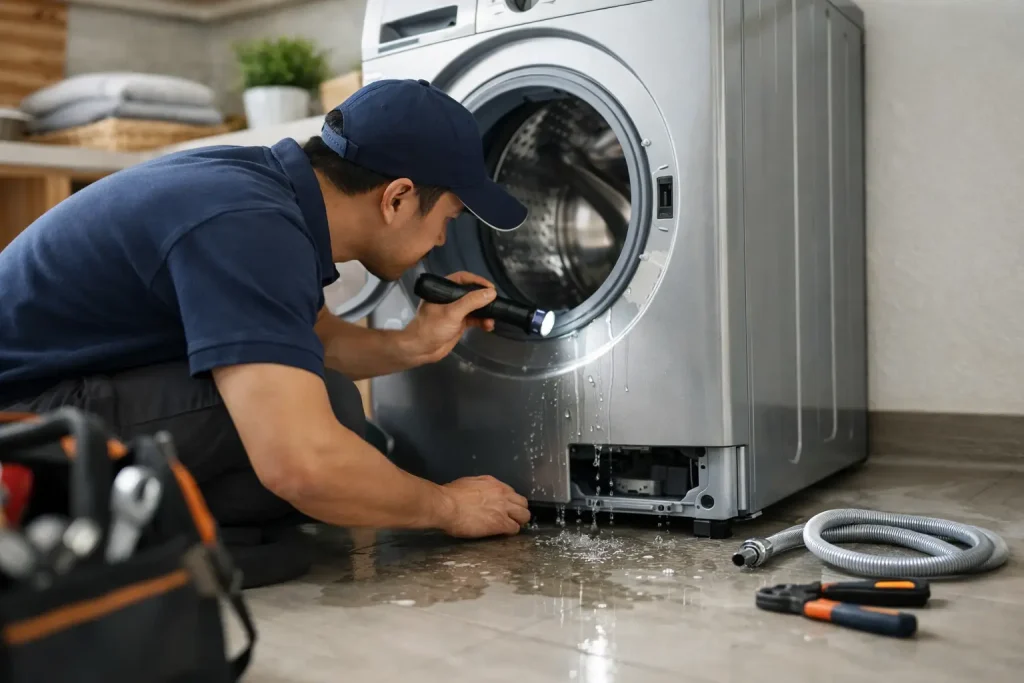
A puddle beside the washing machine is easy to dismiss after one cycle. It should not be. Washer leak repair is usually simpler and less costly when the source is identified early, before water reaches cabinets, flooring, nearby appliances, or electrical connections. The key is to notice when the machine leaks: while filling, washing, draining, spinning, or only after the cycle has ended.
Before inspecting anything, switch off the washer, unplug it, and close both water supply valves. Mop up standing water so you can see where fresh water appears during a later test. Do not continue using a machine that is leaking heavily, tripping power, producing a burning smell, or leaking from underneath with no clear cause.
Start Washer Leak Repair by Finding When It Leaks
The timing of a leak narrows down the possible fault quickly. A leak during filling often points to the inlet hoses, water valves, detergent drawer, or door seal. Water appearing during draining is more likely related to the drain hose, pump, filter area, or an internal drain hose. A machine that leaks only during a fast spin may have an overloaded drum, an unbalanced load, or a fault that becomes visible when vibration increases.
Move the washer slightly away from the wall if it is safe to do so. Check the floor, rear panel area, hose connections, front door, detergent drawer, and filter cover. Water can travel along a hose or underneath the base before it becomes visible, so the wettest point is not always the actual source.
For landlords, property managers, and businesses, it helps to record a short video showing the leak and the stage of the cycle. This gives a repair technician useful information before arrival and can reduce diagnostic time.
Common Causes of a Washing Machine Leak
Loose or damaged inlet hoses
The inlet hoses connect the water supply to the back of the washer. Their fittings can loosen over time, while rubber seals inside the fittings may flatten, crack, or shift. Look for moisture around both hose connections and along the hose length.
A connection that is only slightly loose may drip slowly and appear harmless. In Singapore’s humid environment, however, small repeated leaks can damage flooring or create staining behind the appliance. Tighten a loose fitting by hand first. Avoid forcing it with tools, as overtightening can damage the thread or seal. If a hose is cracked, swollen, rusted at the fitting, or visibly worn, replacement is the safer option.
A blocked or displaced drain hose
If water escapes while the machine drains, inspect the drain hose. It may be loose at the rear of the washer, split, kinked, or pushed too deeply into the drain pipe. A blockage in the hose or drain path can also cause water to back up.
The hose needs to sit at the correct height and be secured properly. If it is too low, water may siphon out of the machine unexpectedly. If it is bent sharply behind a tightly fitted washer, drainage can be restricted. Do not cut, extend, or reposition the hose without checking the appliance manufacturer’s installation requirements.
A clogged pump filter or damaged drain pump
Many front-load washers have a pump filter behind a small lower front panel. Coins, hairpins, buttons, fabric fibers, and small objects left in pockets can block it. When water cannot drain properly, it may escape around the filter cap or place extra strain on the drain pump.
Place towels and a shallow tray below the filter area before opening it, because trapped water will come out. Clean away debris and ensure the filter cap is refitted squarely and tightly. If the cap seal is damaged, the filter housing is cracked, or the washer still leaks after cleaning, professional inspection is needed. A failing pump or internal hose can leak inside the machine base where it is not safe or practical to repair without dismantling.
A torn door gasket on a front-load washer
The rubber door gasket, also called a door seal or bellow, keeps water inside the drum. Small tears may be hidden in the folds of the rubber, especially near the bottom. Objects such as bra wires, zippers, coins, or sharp items can damage the gasket during a wash.
Check for cracks, trapped objects, and detergent residue around the seal. Also look at the door glass and make sure clothing is not caught between the door and gasket. A dirty seal can sometimes be cleaned, but a torn or distorted gasket needs replacement. Applying adhesive is rarely a lasting washer leak repair because the seal flexes, heats up, and remains under pressure during each wash.
Too much detergent or the wrong detergent
A washer can leak from the detergent drawer or door area when excess foam builds up. This is common when regular detergent is used in a high-efficiency machine, or when more detergent is added than the load requires. Foam can force water through gaps that would not normally leak.
Use detergent labeled for your washer type and follow the dosage guidance. Soft water, small loads, and lightly soiled clothing often need less detergent than expected. If the drawer is overflowing, remove it and clear hardened detergent from the compartments and water channels. A blocked drawer can prevent water from flowing into the drum correctly.
An overloaded or unstable machine
An overfilled drum can push items against the door seal, affect water movement, and cause excessive vibration during spin. Severe vibration may loosen hoses or expose an existing weakness in a gasket, pump connection, or dispenser housing.
Try a smaller, balanced load and check that the washer sits level with all feet firmly on the floor. Do not place cardboard, loose mats, or unstable supports under the appliance. If the machine suddenly becomes much louder or moves during spinning, stop using it until the cause is checked. Worn suspension parts or drum problems can create a leak as well as further mechanical damage.
What You Can Safely Check Yourself
Basic checks can solve some minor leaks, but only if there is no electrical risk and the fault is clearly accessible. With the power disconnected and water valves closed, you can inspect hose fittings, look for a kinked drain hose, clean an accessible pump filter, clear the detergent drawer, and check the door gasket for trapped items.
Avoid removing panels, bypassing safety switches, or running the machine while it is partially dismantled. Internal leaks can come from the tub, pump, dispenser hoses, water inlet valve, pressure system, or door lock area. These parts may require testing, correct replacement parts, and careful reassembly to prevent a second leak.
A useful test after a simple check is to run a short rinse cycle while watching the machine closely. Keep towels nearby and stop the cycle immediately if water appears. Never leave a suspected leaking washer unattended.
When to Call for Professional Washer Leak Repair
Professional diagnosis is the right choice when the leak comes from beneath the machine, returns after a filter or hose check, appears around internal components, or is paired with poor draining, error codes, unusual noise, or a door that will not lock correctly. It is also advisable when the washer is built into cabinetry or stacked with a dryer, since moving it without the right approach can damage hoses and surrounding fixtures.
An experienced technician can identify whether a repair requires a hose, pump, door gasket, inlet valve, dispenser part, tub seal, or another component. The repair decision depends on the washer’s age, model, overall condition, availability of spare parts, and the cost of the repair compared with replacement. A straightforward hose, filter, pump, or gasket repair can often be worthwhile. A major tub or bearing-related leak on an older machine may need a more careful cost comparison.
Fix It Appliance provides washing machine diagnostics and repair across Singapore for homes and commercial premises. Clear fault diagnosis matters because replacing the wrong part may stop a symptom briefly without fixing the source of the water.
Prevent Leaks Before They Interrupt Laundry
Check the inlet and drain hoses every few months, especially if the washer vibrates during spin or has been moved recently. Clean the pump filter according to your model’s instructions, empty pockets before washing, and avoid overloading the drum. Use the right detergent in the right amount, then leave the door and detergent drawer slightly open after a wash so moisture can dry out.
If you notice even a small recurring puddle, arrange an inspection rather than waiting for a larger failure. Fast attention to a washer leak protects the appliance, the area around it, and the next load of laundry.